Choose a spot you can give back
A temporary craft workspace works best when it starts with a clear limit: which surface can you use, and when does it need to be available again? A dining table might be free for an hour, while a desk may only have room for a small project beside a laptop. Match the project to that space rather than trying to fit every supply you own onto it.
Before bringing out materials, clear the surface and check the light. Keep drinks, mail and electronics outside the work area. If you will use paint, glue or another material that needs time to dry, identify a safe drying spot now. That small decision prevents a nearly finished project from taking over the table when your craft time ends.
Build a kit around one project
Store the supplies for your current project in one container you can carry to and from the workspace. A shallow box, handled basket or lidded bin can hold tools, materials and a few small containers for loose pieces. It does not have to hold your entire collection. Keeping only what you need for the next session makes setup faster and makes missing items easier to notice.
Group supplies by what you will do with them. For example, keep cutting tools together, put small findings in a closed container, and place the materials you will use first near the top. Add a pencil and a scrap of paper for measurements or notes. If a project must travel back into storage unfinished, include a folder or envelope to protect flat pieces and a small bag for parts that could spill.
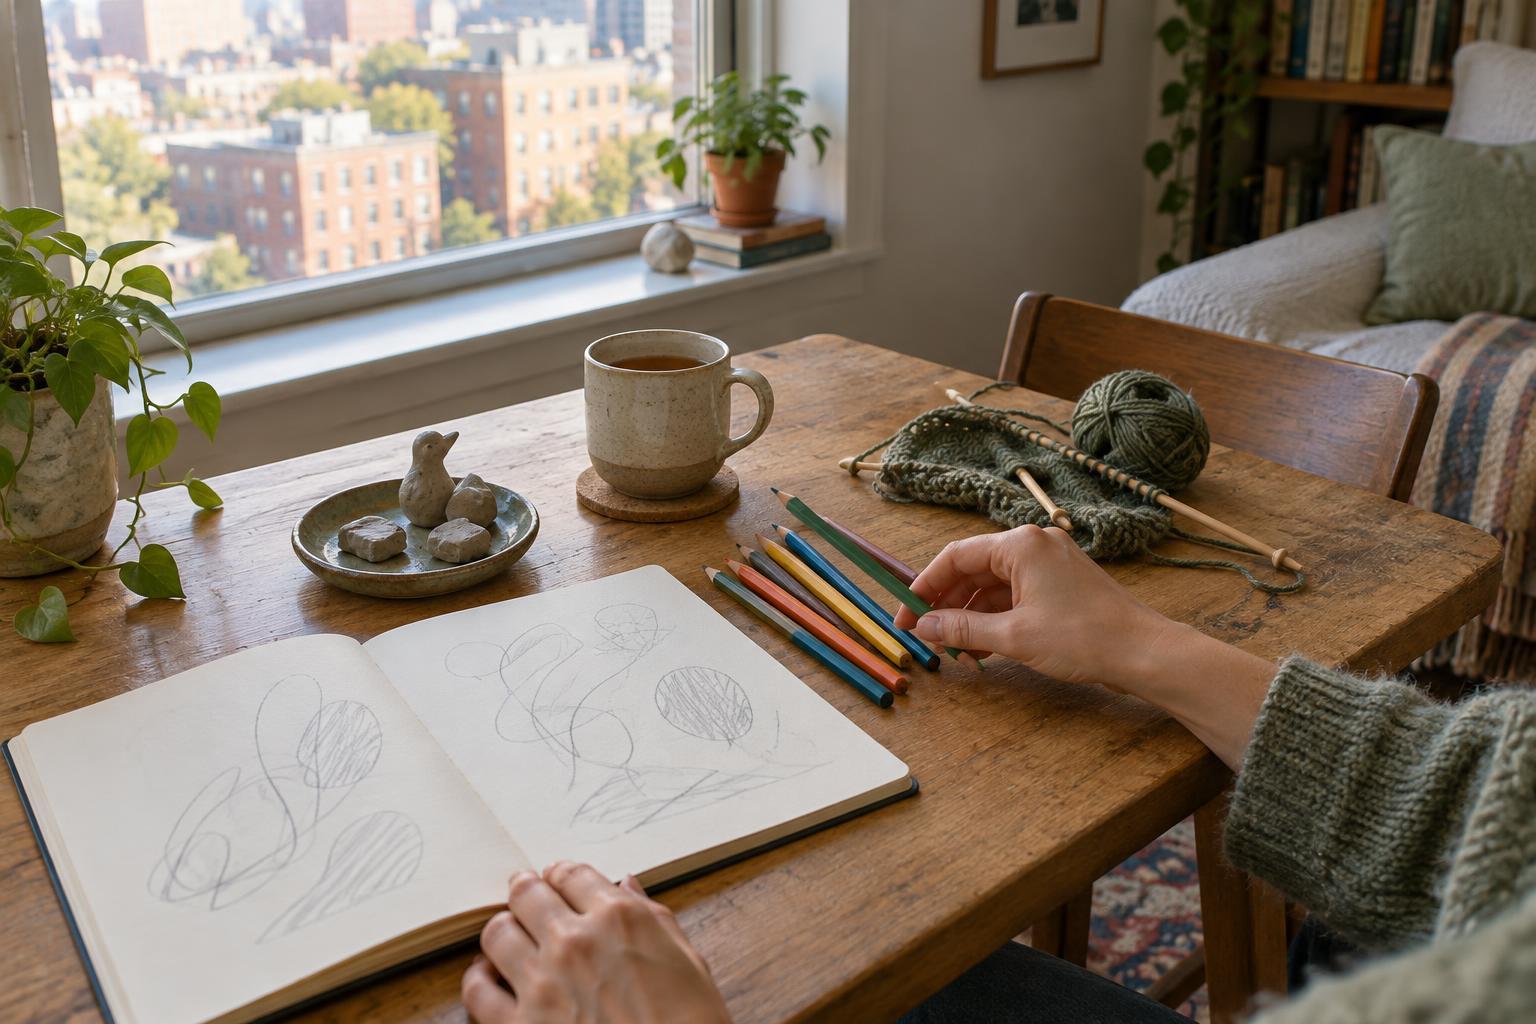
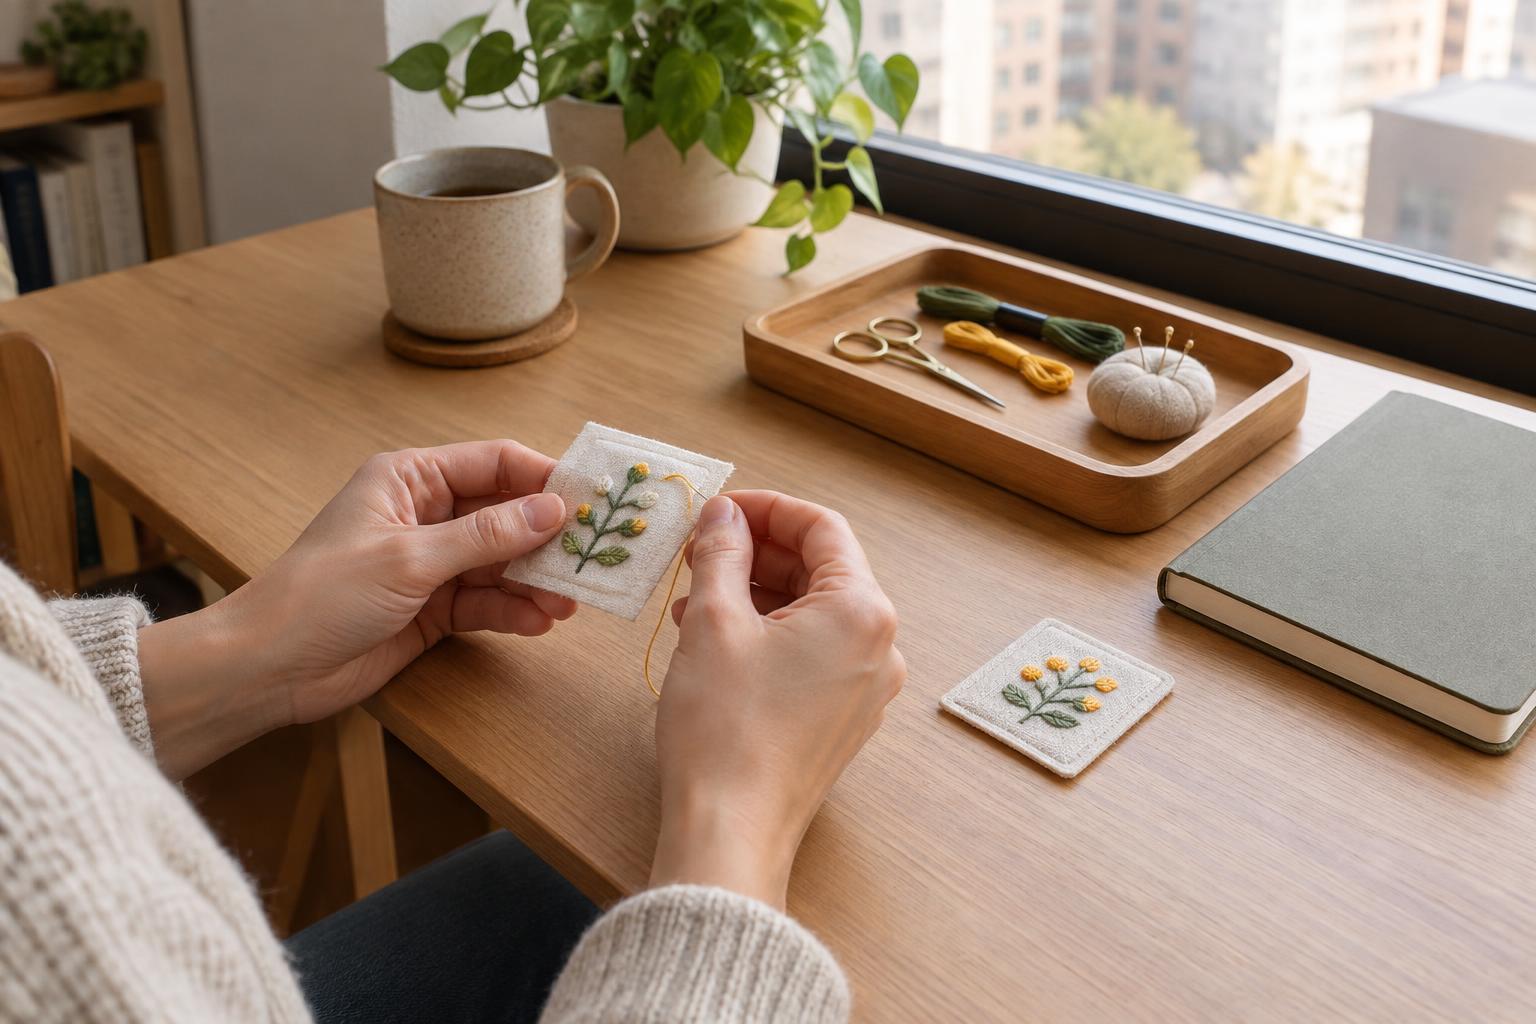
Choose projects with your available cleanup time in mind. Drawing, simple stitching and paper crafts may be easier to pause than a project involving several wet layers. You can still tackle messier work in a shared space, but it helps to plan for drying, tool cleaning and disposal before you start.
Give every item a place on the table
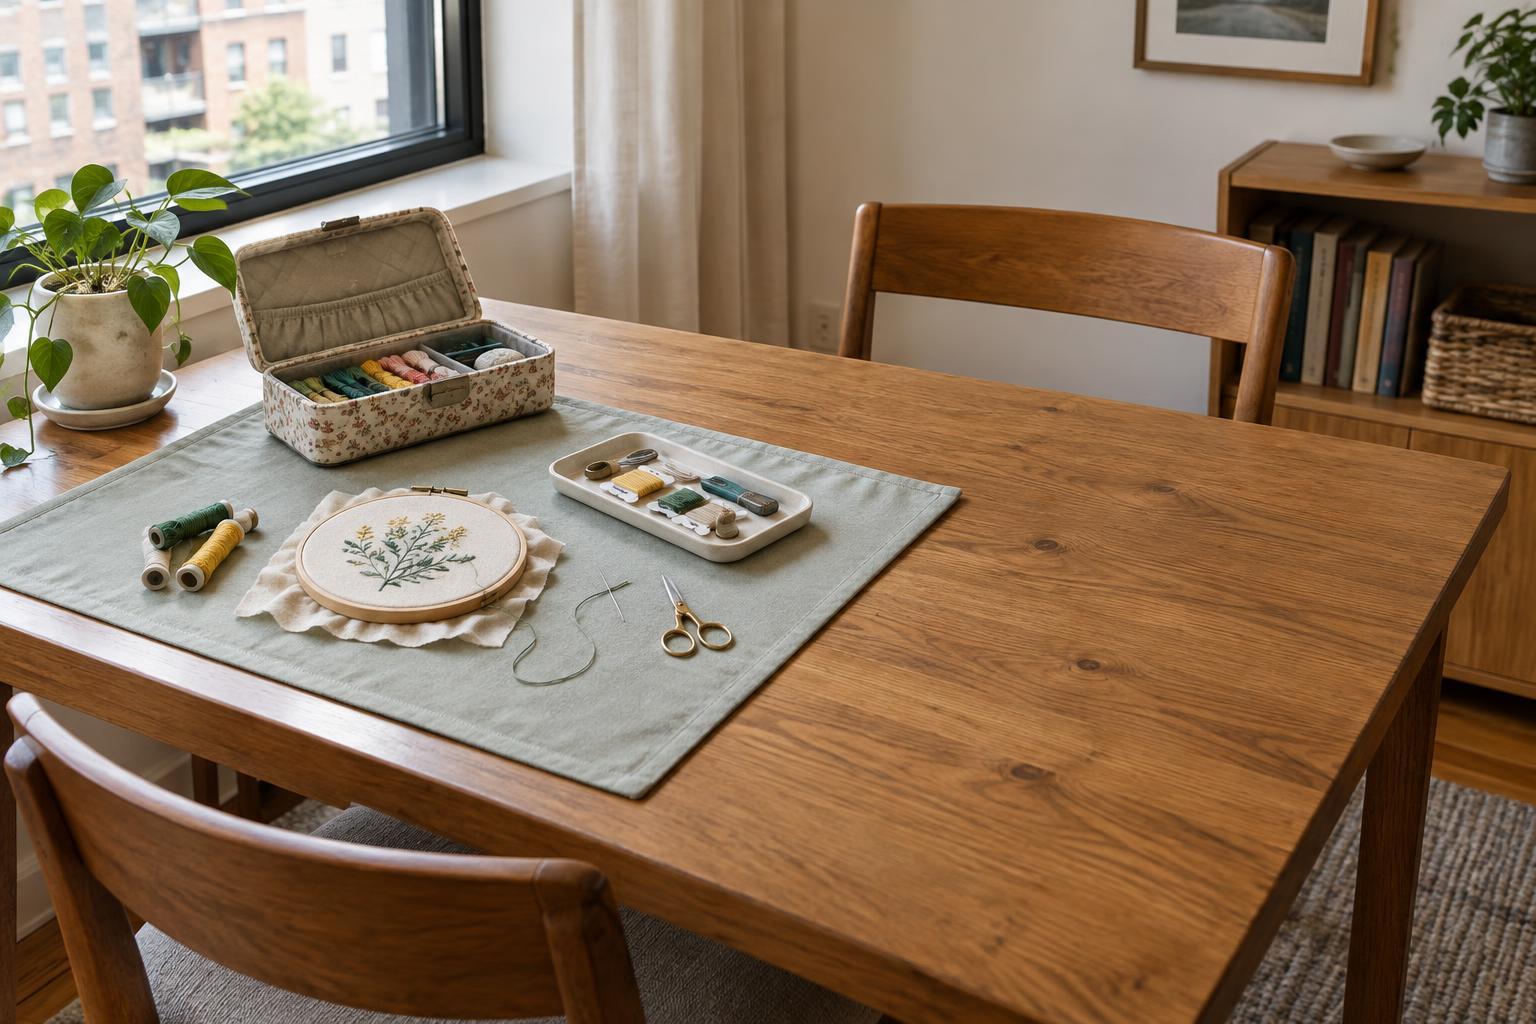
Lay down a washable mat or other surface covering suited to your materials. Put the main project in the center, tools to one side and unused supplies toward the back. Leave an open corner for finished pieces. This simple arrangement helps you see what you have and keeps you from setting a wet brush on a clean sheet of paper.
Set out two small containers: one for scraps or rubbish and one for pieces you want to keep. When trimmings have somewhere to go, they are less likely to spread across the table or floor. If you work with anything sharp, hot or strongly scented, follow its instructions and make sure the space is appropriate for it. A compact setup should not mean working without suitable ventilation or leaving a tool where someone could pick it up accidentally.
Make stopping part of the session
Decide when you will begin clearing away before you start crafting. If the table needs to be ready for dinner, set a stopping point that leaves time to wash tools and put materials back. Finishing one small step is often more satisfying than rushing into the next step and having to abandon it halfway through.
When it is time to stop, take a quick look at the project and write down what comes next. Let anything that needs to dry remain in its planned spot, away from items that might touch it. Then close containers, return reusable supplies to the kit, and deal with scraps. Wipe or wash the work surface as appropriate, checking the floor and chair for stray pieces. Put the kit back in its storage place only after tools and materials are ready for their next use.
Adjust the system after each session
The first version of your workspace does not need to be perfect. Notice what slowed you down: a tool stored too far away, scraps with no container, or a project too large for the surface. Change one thing before the next session. You might add a tray to move an unfinished project, switch to a larger mat or split a bulky kit into two smaller ones.
The goal is not to make your home look as if crafting never happens. It is to make creative time easy to begin and easy to pause. When setup and cleanup are predictable, even a short stretch of free time can feel worth using.