Start with the rides you actually make
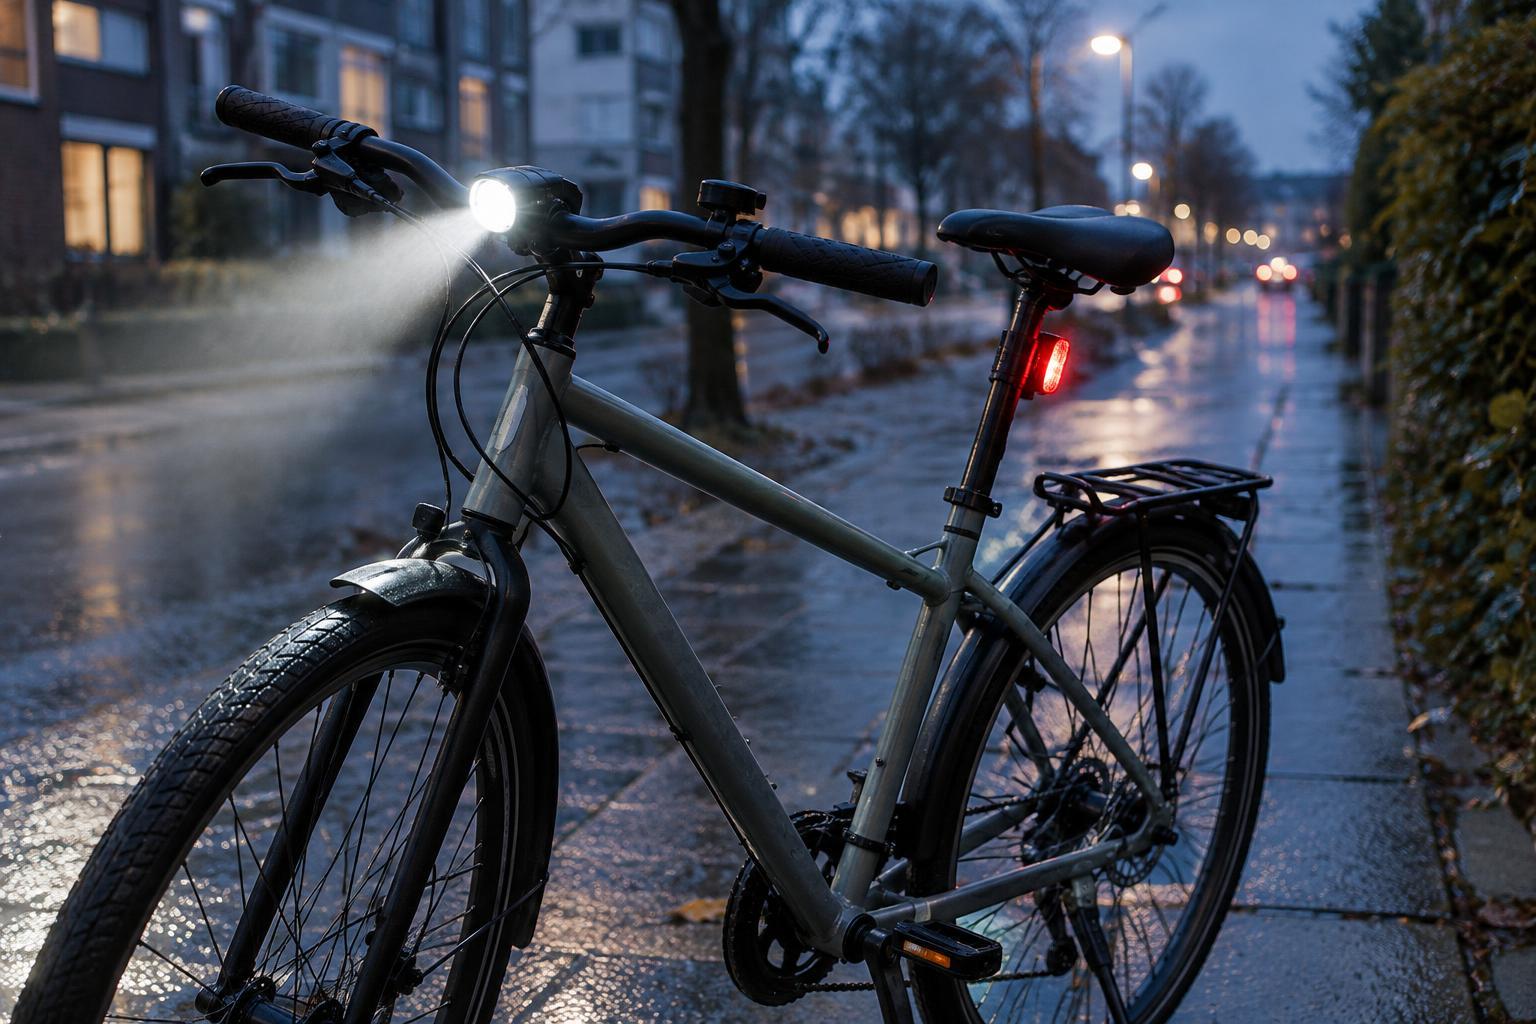
A bike light that works for a short trip across well-lit streets may not be enough for a route through an unlit park. Before comparing products, think about where you ride, how long you are usually out and whether you need lights mainly to be noticed or to see the road ahead. Many riders need both: a white front light that helps reveal obstacles and a red rear light that makes the bike easier to spot from behind.
Consider the conditions you are likely to meet on an ordinary week, not just an ideal ride. Streetlights can leave dark patches, and rain or busy backgrounds can make a small light harder to notice. Check the lighting rules where you ride, including any requirements for color, placement or steady versus flashing modes. A product description is not a substitute for local rules, and lights may not replace required reflectors.
Look beyond the brightness number
Brightness ratings can help narrow your choices, but they do not tell you everything about how a light performs. A concentrated beam may reach farther down a dark path while leaving the edges poorly lit. A broader beam can be more useful for spotting turns, surface changes and people near the side of your route. If possible, compare beam-pattern images or try a light in conditions similar to your commute.
Think about where the beam goes as well as how far it reaches. A front light aimed too high can dazzle people coming toward you, while one aimed too low may give little time to notice a pothole. Some lights are designed to limit light above the beam; others rely more on careful positioning. For a rear light, consider whether it remains noticeable from slight angles, not only from directly behind.
Multiple settings are useful if you ride in changing conditions. A lower setting may be comfortable on a lit street, while a higher one can help on an unlit stretch. Flashing modes can attract attention in some settings, but their suitability depends on the situation and local rules. Choose a light whose controls make it easy to switch modes without a long sequence of button presses.
Check runtime in the mode you will use
The longest runtime printed on a package is often tied to a low-power mode. Find the estimated runtime for the brightness level you expect to use most, then leave room for a longer ride or an unexpected stop. Battery performance can vary with settings, temperature and battery age, so an estimate that only just covers your usual trip may feel restrictive.
Rechargeable lights are convenient if you already have a place to charge them. Check the charging connector, whether the light gives a clear low-battery warning and whether you can see its charge level before leaving home. Replaceable batteries may suit someone who cannot reliably charge between rides, though keeping spares becomes part of the routine. Either way, consider how you will avoid setting off with an empty light.
Make sure the mounts fit your bike and habits
A secure mount matters as much as the light itself. Check that the front mount fits your handlebar and leaves space for your hands, bell or bag. At the rear, look for a position that a jacket, rack load or pannier will not block. If you use more than one bike, find out whether the mount can move easily between them or whether an extra mount is available.
For city errands, a light that detaches quickly can be easier to take indoors when you park. The trade-off is remembering to bring it and put it back. Try to judge whether the release is simple enough to use regularly but secure enough to resist bumps. If the light rotates in its mount, you should be able to set its angle without it slipping during a ride.
Plan for weather and daily use
Rain resistance is worth checking even if you rarely choose to ride in bad weather. Look at the maker’s stated water-resistance guidance and pay attention to how the charging-port cover closes. Water-resistant does not necessarily mean safe to submerge. Controls should also be manageable with the gloves you normally wear, and a light should be easy to remove for charging without disturbing its mount every time.
Before buying, picture one complete trip: fitting the lights, checking their charge, riding through your darkest section, parking and bringing them inside. That simple walkthrough often exposes a missing feature more clearly than a long specification list. Once fitted, test both lights from a distance, check that neither is obscured and adjust the front beam so it helps you see without shining into other people’s eyes.