Start with what you have
Collage begins with a simple act: choosing pieces of paper and putting them together in a new arrangement. You do not need to know how to draw, and you do not need a plan for a finished masterpiece. A magazine page, a grocery flyer, an old envelope and a few minutes at the kitchen table are enough to try it.
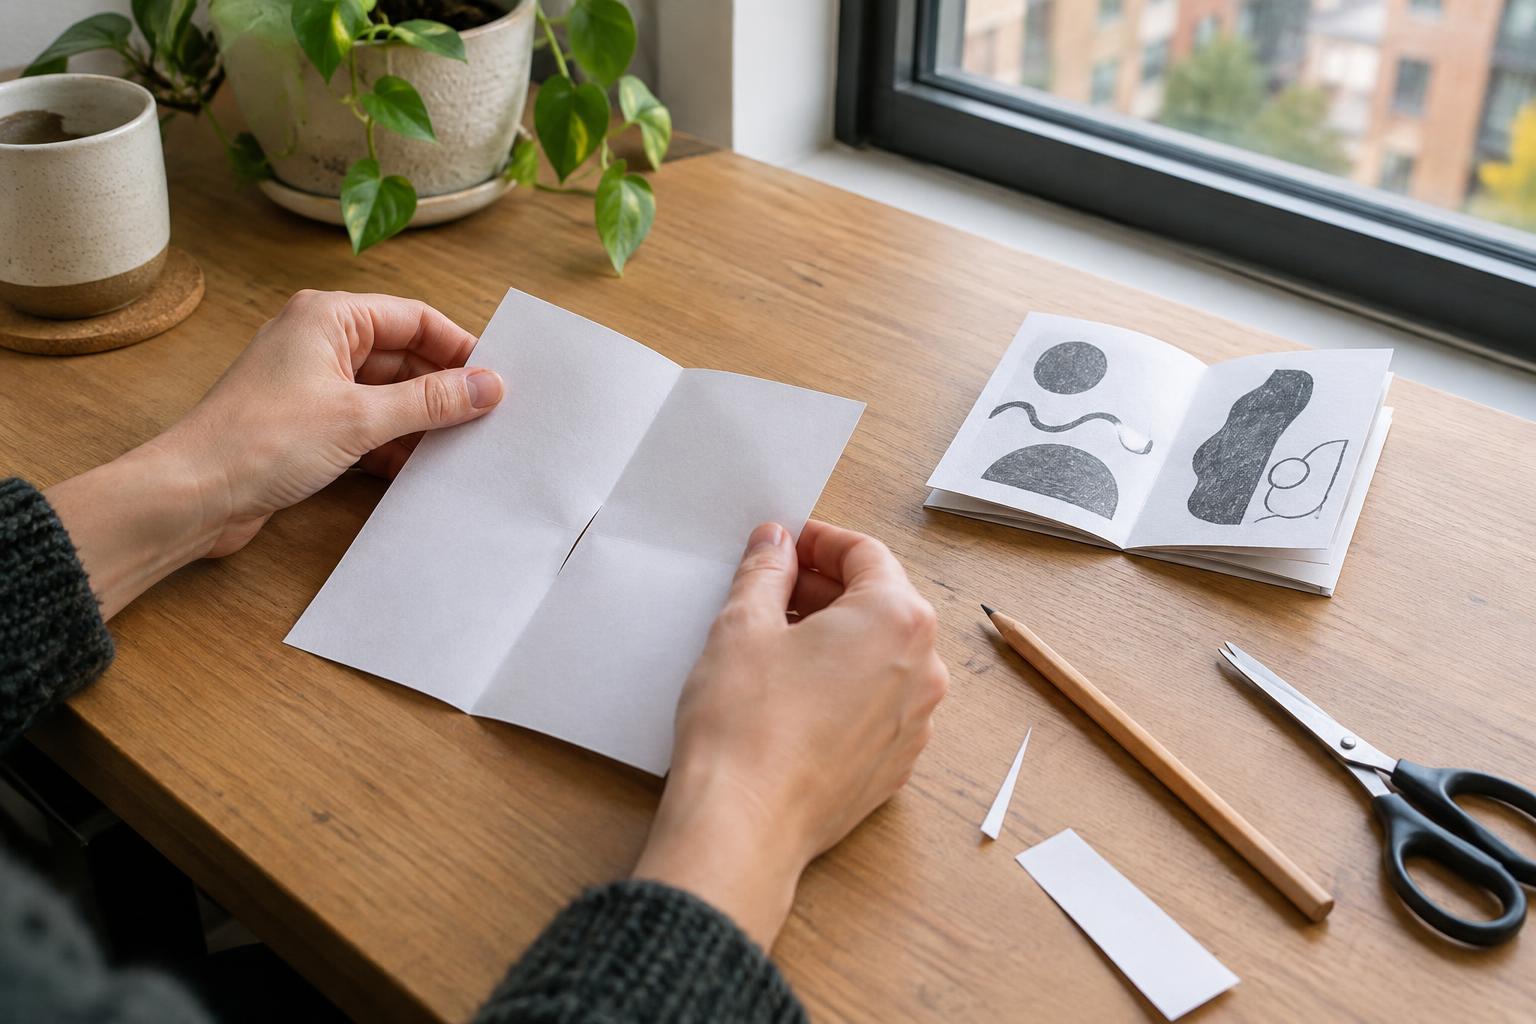
Gather paper that is clean and no longer needed: magazines, packaging, unwanted mail, ticket stubs or leftover gift wrap. Check both sides before cutting anything that might contain personal information or something you meant to keep. Add scissors, a glue stick and a sheet of sturdier paper or thin cardboard for a base. If you are working in a compact home, put everything on a tray or in a shallow box so you can move the project when the table is needed.
Choose a small, inviting starting point
A blank page can feel daunting, so give yourself one loose constraint. You might collect only blue and yellow pieces, build a scene around a doorway, or pair pictures of everyday objects that do not usually belong together. A theme is useful because it narrows your choices, not because the finished collage must tell a clear story.
Before cutting carefully, flip through your materials and pull out anything that catches your eye. Look for colors, textures, letters, shapes and partial images as well as complete pictures. The edge of a photograph might make an interesting horizon; a block of printed text might work as a pattern. Set aside a handful of possibilities. You can always return for more, but starting with a smaller pile makes arranging them easier.
Build the page before reaching for glue
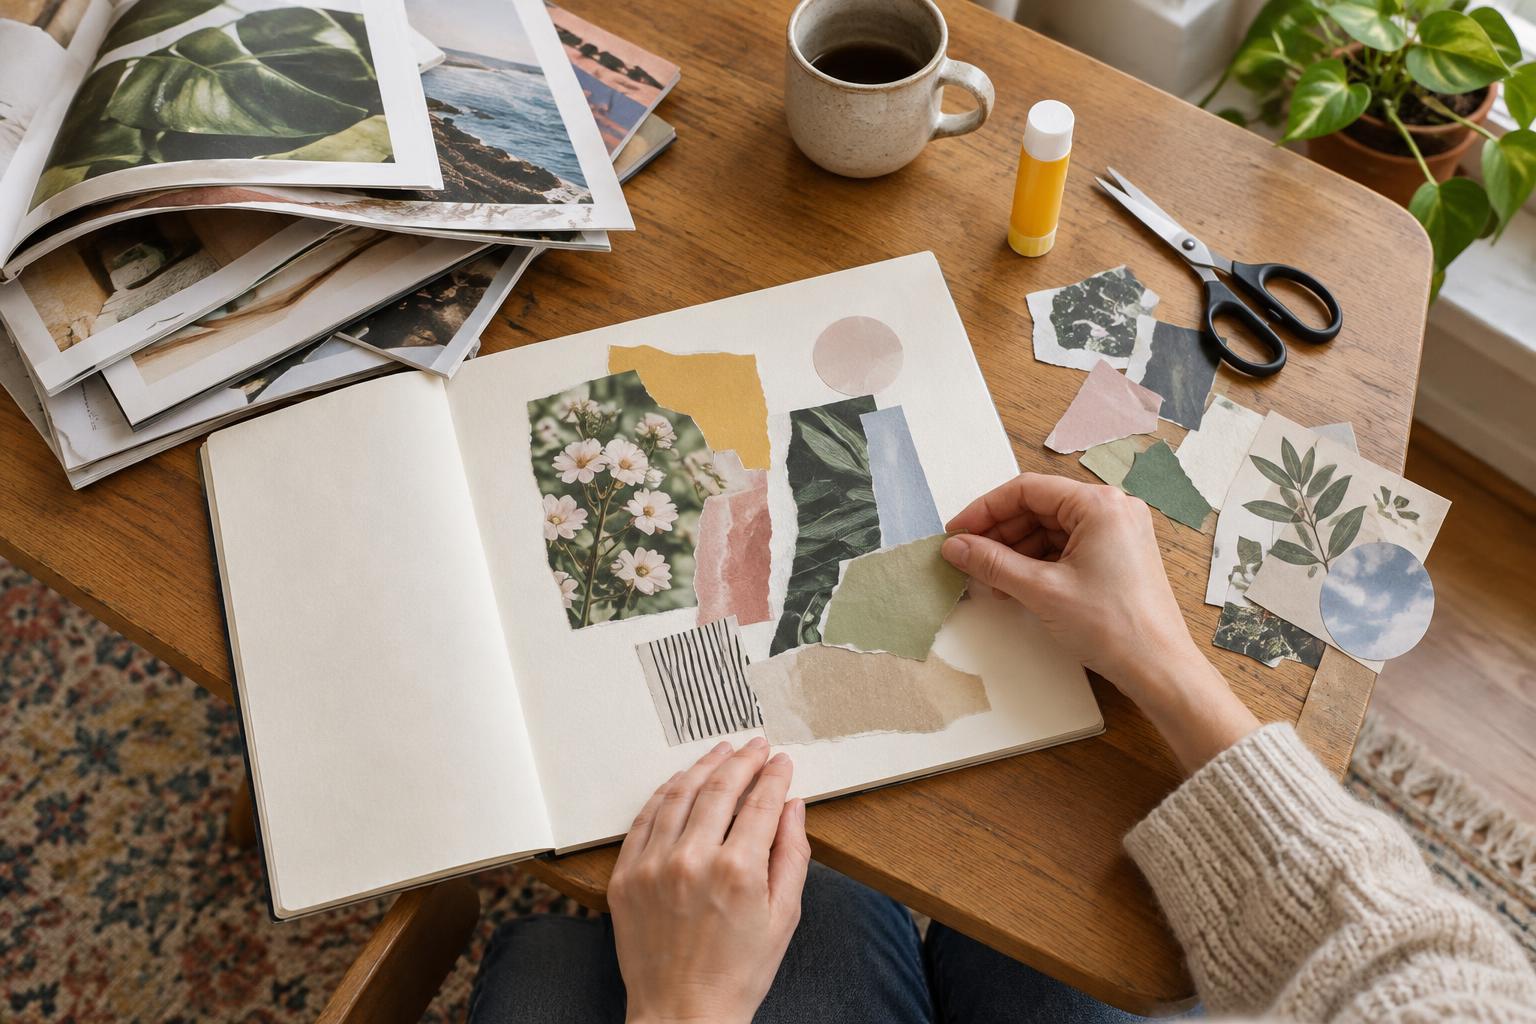
Cut or tear a few large pieces first. Place them on your base to establish a background or a central shape, then add smaller pieces for contrast. Try moving the same image to different corners. Notice how much of the base remains visible and whether your eye has a place to settle. There is no required layout: a busy page can be lively, while a page with just two or three pieces can feel deliberate.
For a beginner-friendly exercise, choose one image as an anchor, such as a chair, a plant or a face. Put it somewhere other than the exact center, then arrange three to five scraps around it. Let some edges overlap. If the result feels crowded, remove one piece before adding another. Taking a quick photo of an arrangement can help you remember it while you lift the pieces to glue them down.
Glue in layers and leave room for changes
Once you like the arrangement, attach the largest background pieces first. Apply glue to the back of each piece, paying attention to the edges, and press it down gently. Work from back to front so overlapping pieces land in the right order. A glue stick is convenient for ordinary magazine paper; use it sparingly to reduce wrinkles. A scrap sheet under your work can catch stray glue.
Do not worry if a corner lifts or a cut line looks uneven. Those details can become part of the page. You can cover a troublesome spot with another scrap, add a handwritten word, or leave it alone. If you want to use pen or marker, test it on an offcut first: glossy paper does not always accept ink the way plain paper does. Let the collage dry flat before stacking it with other papers.
Make it a repeatable break
Collage fits into a short stretch of downtime because you can stop at almost any stage. On one day, collect appealing scraps; on another, arrange and glue them. Keep a small envelope for cutouts and return the unused pieces to it when you finish. A tray, envelope and folder can hold a complete setup without turning your living space into a permanent craft area.
You do not have to frame or share every page. You might use a finished collage as a notebook cover, tuck it into a letter, or keep it as a record of an afternoon spent making something. The most useful habit is simply to notice what you enjoy selecting and arranging. Your next collage can follow that interest, or begin with an entirely different pile of paper.