Start small on purpose
A zine is a small, self-made publication. It can hold drawings, notes, a story, instructions, or a collection of things you have noticed. A one-sheet zine is especially suited to a short stretch of free time: it uses one piece of paper, needs no staples or glue, and is small enough to carry in a pocket. Its limited space is part of the appeal. You do not need to develop a big idea before you begin.
Gather a sheet of paper, a pen or pencil, and scissors. Ordinary printer paper is easy to fold, but scrap paper works if one side is clear enough to use. You can add colored pens or collage materials later. For a first attempt, make a blank booklet before drawing anything. That way, you can learn the folds and see where each page lands without worrying about an illustration ending up upside down.
Fold the sheet into an eight-page booklet
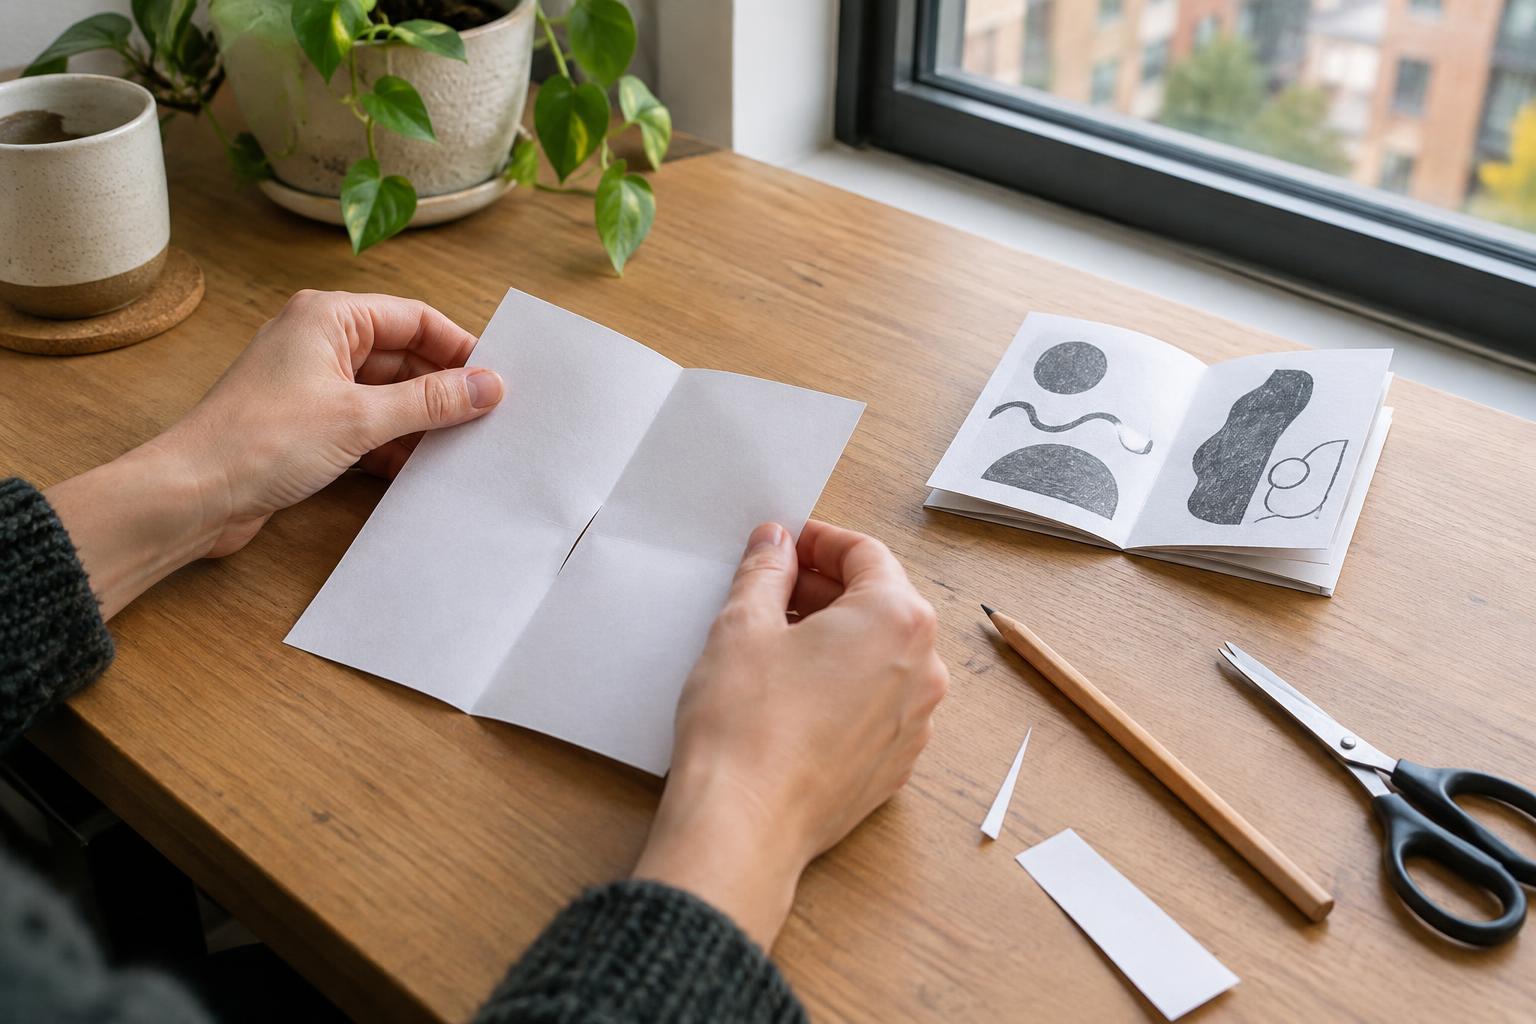
Place the sheet in front of you in landscape orientation. Fold the top edge down to meet the bottom edge, crease it, and open it again. Next, fold the left edge across to meet the right edge, crease, and open. Fold the left and right edges inward to meet the center crease, then open the sheet once more. You should see a grid of eight rectangles: two rows and four columns.
Make one cut along the horizontal crease that divides the two rows, but only across the middle two columns. The cut should start at the first vertical quarter crease and stop at the third; it should not reach either outside edge. Fold the top half down over the bottom half again. Hold the two short ends and gently push them toward each other. The cut will open into a diamond shape. Bring the panels together, then flatten them into a little book. If they resist, check that every crease is sharp and that the cut follows the center fold.
Plan the pages after you fold
The easiest way to avoid a page-layout puzzle is to assemble the blank zine first. Mark the front cover, turn the pages in order, and lightly number all eight faces, including the back cover. Then unfold it and use those marks as your guide. Some page areas will look upside down on the flat sheet; that is normal. Write and draw in the direction indicated by your numbered booklet, or refold it as you work on one page at a time.
Give the zine a narrow subject rather than trying to fill it with everything you know. You might make a tiny field guide to the sounds on your walk, a collection of window views, a recipe told in pictures, or a list of ways to spend ten quiet minutes. A cover, six interior pages, and a back cover provide a useful framework, but there is no requirement to fill every space. A single word or drawing can be enough for one page.
Make it easy to finish and share
Try making a rough version before a polished one. Set out the page order in pencil, add the main words or shapes, and fold it to test the pacing. Does each turn reveal something new? Is any text too close to a fold? Leave a little room around edges so the pages remain comfortable to read. If you want to make copies, keep the original flat after finishing it; a copy of that sheet can be cut and folded in the same way.
A zine does not need an audience to be worthwhile. Making one can give a loose thought a beginning, middle, and end without asking for an entire afternoon. Keep it as a record of an ordinary day, slip it into a note for a friend, or leave space for someone else to add a page. Once you know the fold, an unused sheet of paper becomes an invitation to make something small and complete.