Start with a stage that fits your table
A paper theater is a small scene you can rearrange and bring to life with your hands. It can depict a rainy street, an imaginary garden, or the view from a café window. You do not need to perform for anyone or write a complete story. Making the stage and moving its pieces can be the whole activity.
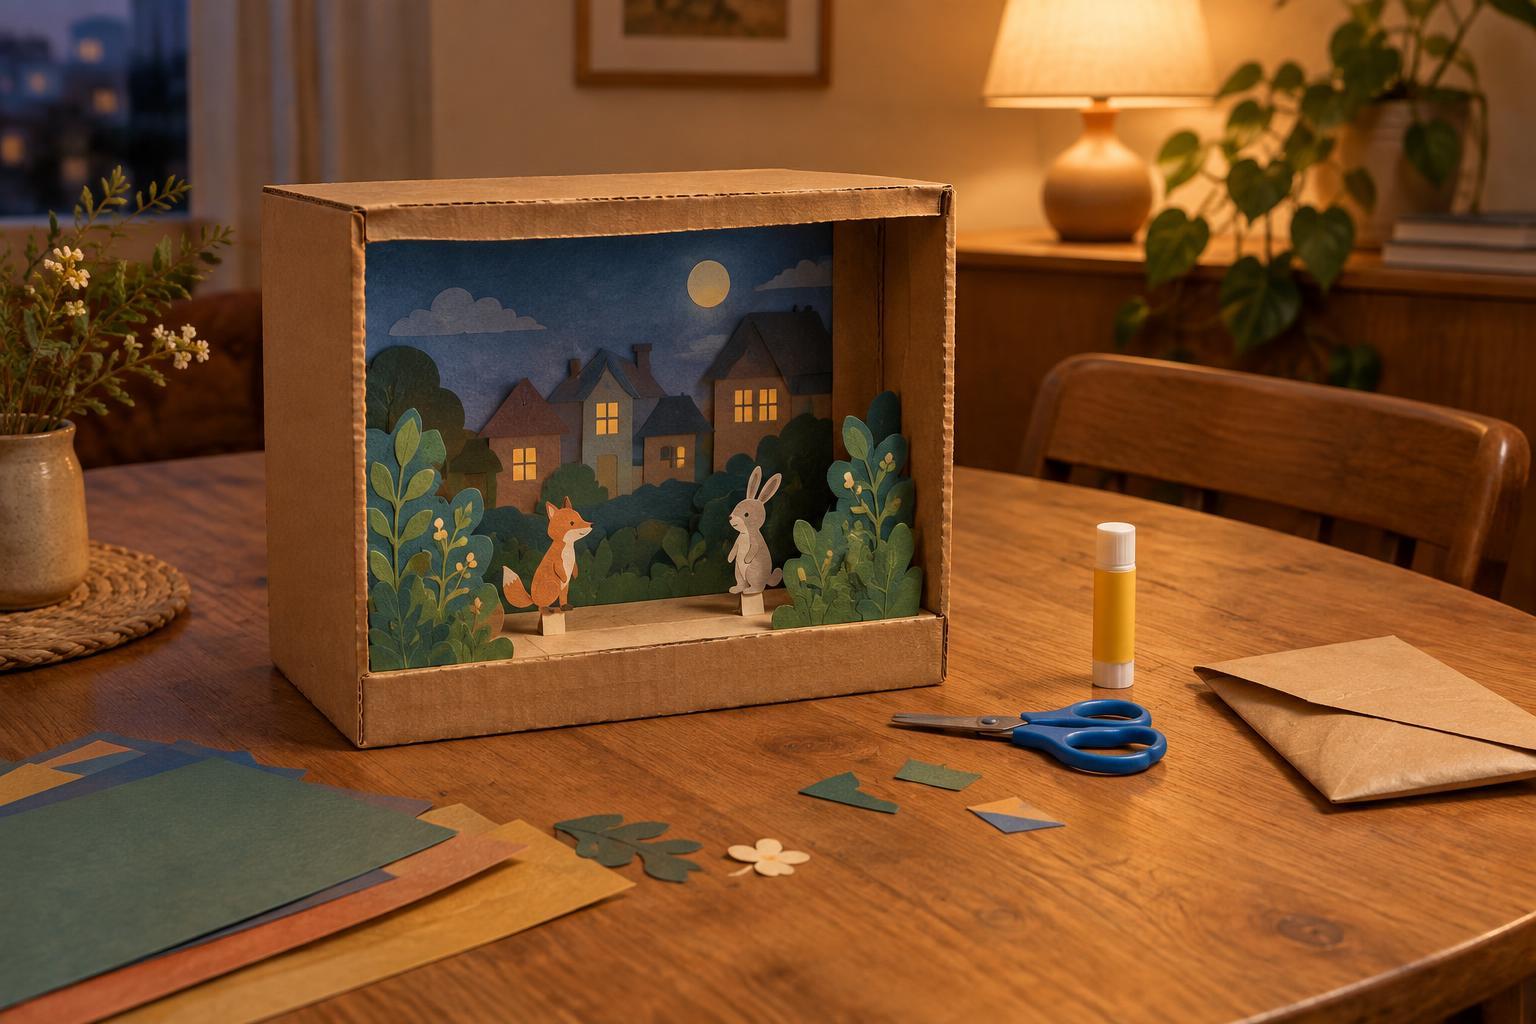
Choose a shallow box, a box lid, or a folded piece of sturdy cardboard as your stage. An open front makes it easy to see inside; a back and two sides give you places to attach scenery. If you have no box, fold a strip of card into a standing backdrop and set it behind a flat paper floor. Aim for a size you can comfortably work on without clearing the entire table.
Gather scrap paper, a pencil, scissors, and a glue stick or a little tape. Save the detailed materials for later. A limited set of supplies makes it easier to begin and gives the theater a consistent look, even if you use paper from several different sources.
Build a scene in three layers
Think of the stage as three simple layers: a background, a middle layer, and a few movable pieces at the front. For the background, draw or cut out broad shapes such as buildings, hills, windows, or clouds. Attach them to the back of the box. Leave blank space rather than trying to fill every corner; the open areas help your smaller pieces stand out.
For the middle layer, make one or two objects that sit a little forward of the background. Fold a narrow tab at the bottom of each paper shape and tape the tab to the stage floor. A doorway, tree, bench, or shelf is enough to suggest a place. If a shape topples, give its tab a wider base or attach it to a small folded strip of card.
Finally, cut out two or three movable pieces: perhaps a person, a cat, and a bicycle, or entirely invented characters. Keep their outlines simple. Tape a folded paper handle to the back of each one so you can move it without covering the picture with your fingers. Nothing needs to be perfectly scaled; a surprising size difference can become part of the scene.
Give the pieces something small to do
A paper theater does not need a plot with a beginning, middle, and end. Try starting with a single change: someone arrives, an object goes missing, or the weather turns. Move one piece at a time and notice what the arrangement suggests. A character standing near a doorway tells a different story from the same character hidden behind a tree.
If you enjoy writing, put a few words on separate slips of paper and draw one at random. Words such as “waiting,” “found,” or “almost” can give you a gentle prompt without dictating what happens. If you would rather stay quiet, make a series of still scenes. Set the pieces in one position, pause, then change just one detail. You can photograph the arrangements if you want to remember them, but the activity works just as well when the scenes are temporary.
When you are ready to stop, resist the urge to improve every part. Choose a final arrangement, look at it for a moment, and call the session complete. An unfinished theater is easy to return to another evening.
Make it easy to put away and return
A small project is more relaxing when cleanup has a clear endpoint. Slip loose characters and word prompts into an envelope, then place it inside the box. If the backdrop is attached, the box itself becomes storage. For a flat stage, fold the background down and keep everything between two pieces of card.
On another evening, you can change just one element instead of starting over. Swap a daytime background for a nighttime one, add a new doorway, or give a familiar character a different destination. Reusing the same stage can make short sessions satisfying: you spend your time playing with an idea rather than preparing materials each time.
There is no need to display the result or make it durable. The value of a tiny paper theater lies partly in how little it asks of you. It provides a place to make choices, try a story, and let that story change—all within the space of an ordinary tabletop.