Start with repairs you can see and understand
Hand sewing is easier to learn when the first goal is narrow. Instead of trying to alter a garment, begin with a loose button or a short split along an existing seam. Both let you follow the way the clothing was originally assembled. Look closely before removing any thread: which layers are joined, where does the stitching begin and end, and is the surrounding fabric still strong?
Set aside a garment you are comfortable practicing on, or use two scraps of woven fabric. Avoid making a favorite coat or delicate shirt your first project. If fabric is fraying badly, stretched out, or torn away from a seam, a few new stitches may not hold. Recognizing that difference is part of learning the skill.
Build a small kit and practice the motions
A basic kit can fit in a small container: hand-sewing needles, all-purpose thread, small scissors, a few spare buttons, and pins or clips to hold fabric in place. Choose thread close to the garment’s color for visible repairs. A needle should pass through the fabric without forcing it; a thick needle can leave obvious holes in fine material. Keep needles secured when you put the kit away.
Before repairing clothing, thread a needle and tie a knot at the end of a manageable length of thread. On scrap fabric, practice bringing the needle up from the back, moving a short distance, and taking it down again. Repeat slowly, aiming for reasonably even spacing rather than perfect stitches. If the thread tangles, try a shorter length. Finish by taking a small stitch on the hidden side and passing the needle through the resulting loop to secure the thread.
This practice may feel basic, but it gives you a chance to notice how tightly you pull. The fabric should lie flat after each stitch. If it puckers, ease the thread before continuing. If the stitches hang loose, pull them snug without drawing the fabric together.
Reattach a button without pulling the fabric tight
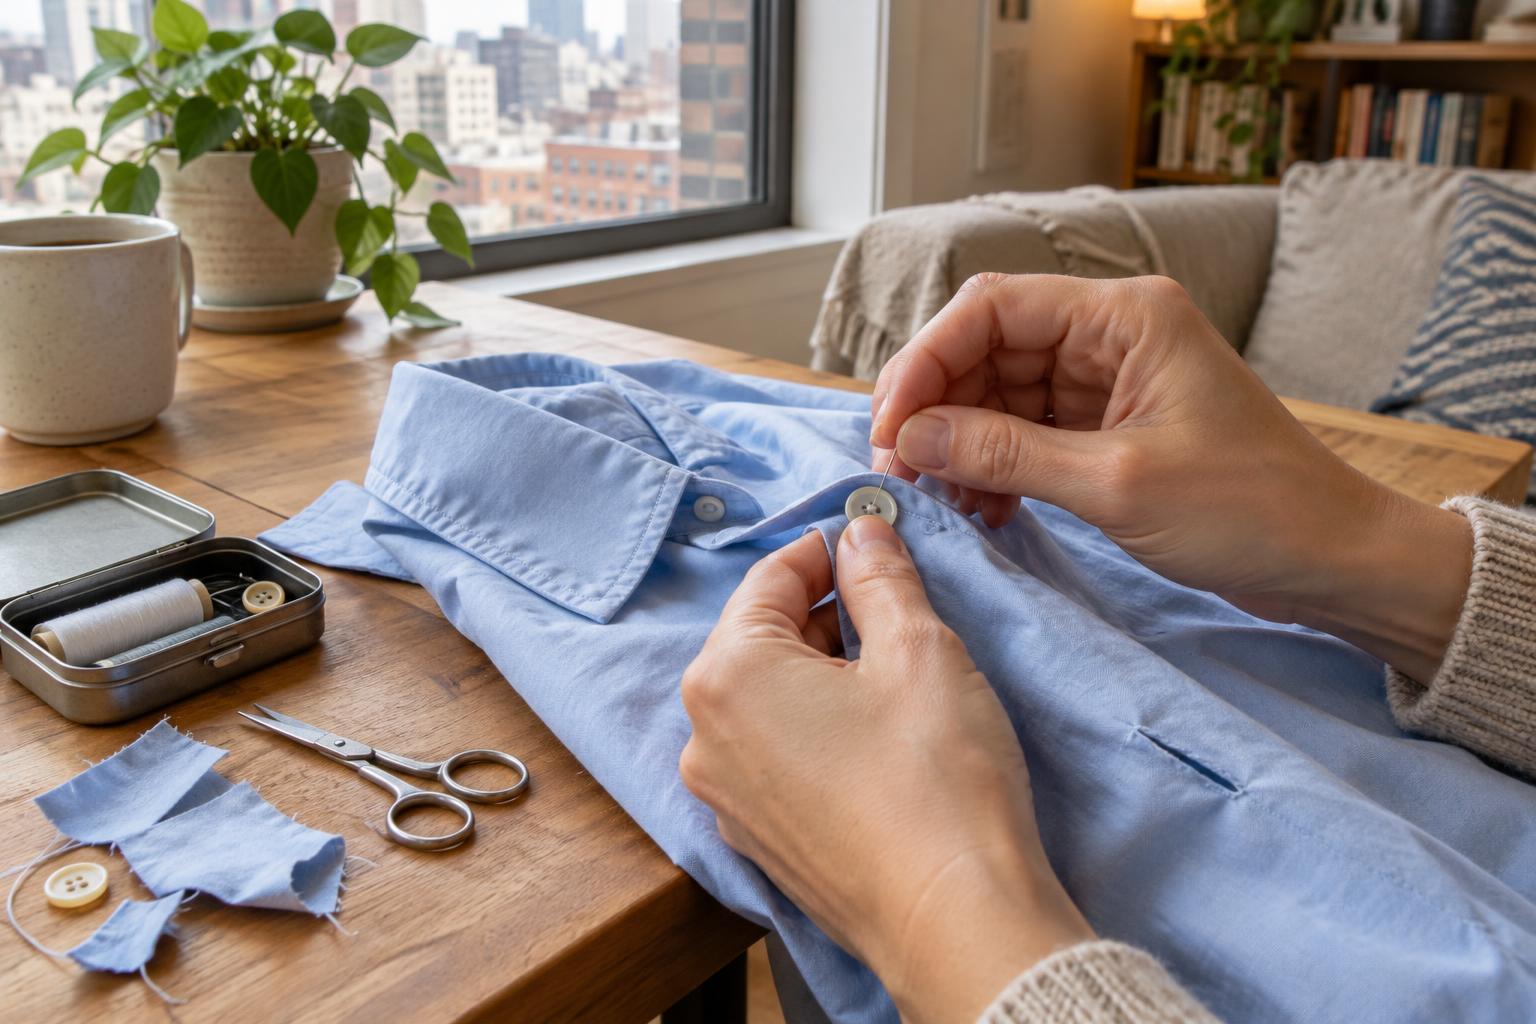
Check whether the old button is still usable and whether another button on the garment shows its original position. Mark the spot if needed. From the inside of the garment, bring the needle through the fabric and through one hole of the button. Sew down through another hole, repeating the path several times. For a four-hole button, follow the pattern used by nearby buttons if you can see one.
Leave a little room between the button and the fabric so the buttonhole can slip over it, especially on thicker clothing. One way to do this is to hold a pin or thin scrap of cardboard under the button while sewing, then remove it. To finish, bring the needle up beneath the button, wrap the thread around the stitches under it a few times, and secure the thread on the inside. Test the button gently rather than tugging hard.
Close a short seam split one stitch at a time
Turn the garment inside out and line up the original seam edges. If old thread is dangling, trim only the loose ends; avoid cutting sound stitches or fabric. Hold the layers together with clips or pins, then begin a little before the split so your new stitching overlaps the intact seam. Make small stitches along the original stitching line, keeping the fabric edges aligned as you go.
Continue a little beyond the end of the opening and secure the thread on the inside. Turn the garment right side out and check whether the seam sits smoothly. If the repair strains when you move the garment normally, do not rely on more tightly pulled stitches. The fit or damaged fabric may need a different repair.
Use each repair to improve the next one
After finishing, note what slowed you down. Perhaps the needle was hard to thread, the fabric shifted, or the thread kept knotting. Change one thing on the next practice piece: use brighter thread so you can see your stitches, add a clip to hold the layers, or shorten the thread. These small adjustments teach more than rushing through a pile of repairs.
Keep the first few attempts low stakes. A button on a work shirt, a torn area near a zipper, or a heavily worn seam may need a sturdier repair than your current skills allow. For now, the useful milestone is modest: you can inspect a simple problem, make a neat repair, and tell whether it holds up to gentle use.