Start with paper you already have
Origami needs little space and almost no equipment, which makes it well suited to a kitchen table or a short break at home. For your first attempts, choose paper that folds easily but is sturdy enough to reopen without tearing. Standard origami paper is convenient because it is already square, but a square cut from ordinary printer paper works too. Very thick card can be hard to crease, while thin tissue may be frustrating to handle.
A square with sides around 15 cm long gives your fingers room to work. Make sure its edges are reasonably even: an uneven square can make a careful fold look crooked. Set it on a clear, flat surface with enough room to turn it. You can press creases with a fingertip or the side of a fingernail; a special folding tool is optional. Keep a second sheet nearby so you can try again without feeling that the first one has to be perfect.
Learn the folds that do most of the work
A valley fold brings one part of the paper toward you so the crease sits at the bottom of a V when you open it slightly. A mountain fold bends the paper away, leaving the crease at the top of an upside-down V. They are the same crease viewed from opposite sides. Turning the paper over can transform how a fold looks, so focus on where the edges need to meet rather than memorizing a direction in isolation.
Practice by folding a square in half, matching two opposite edges. Before pressing down, hold the edges together and check that the corners line up. Then make the crease from the center outward. Open the paper, turn it over and fold along the same line to feel the difference between a valley and a mountain fold. Next, bring one corner to the opposite corner to make a diagonal crease. These straight and diagonal folds are the building blocks of many beginner projects.
A sharp crease helps a model hold its shape, but accuracy matters more than force. If the edges are misaligned, open the paper and adjust before pressing firmly. A faint trial fold is easier to correct than a deeply pressed one.
Make a corner bookmark
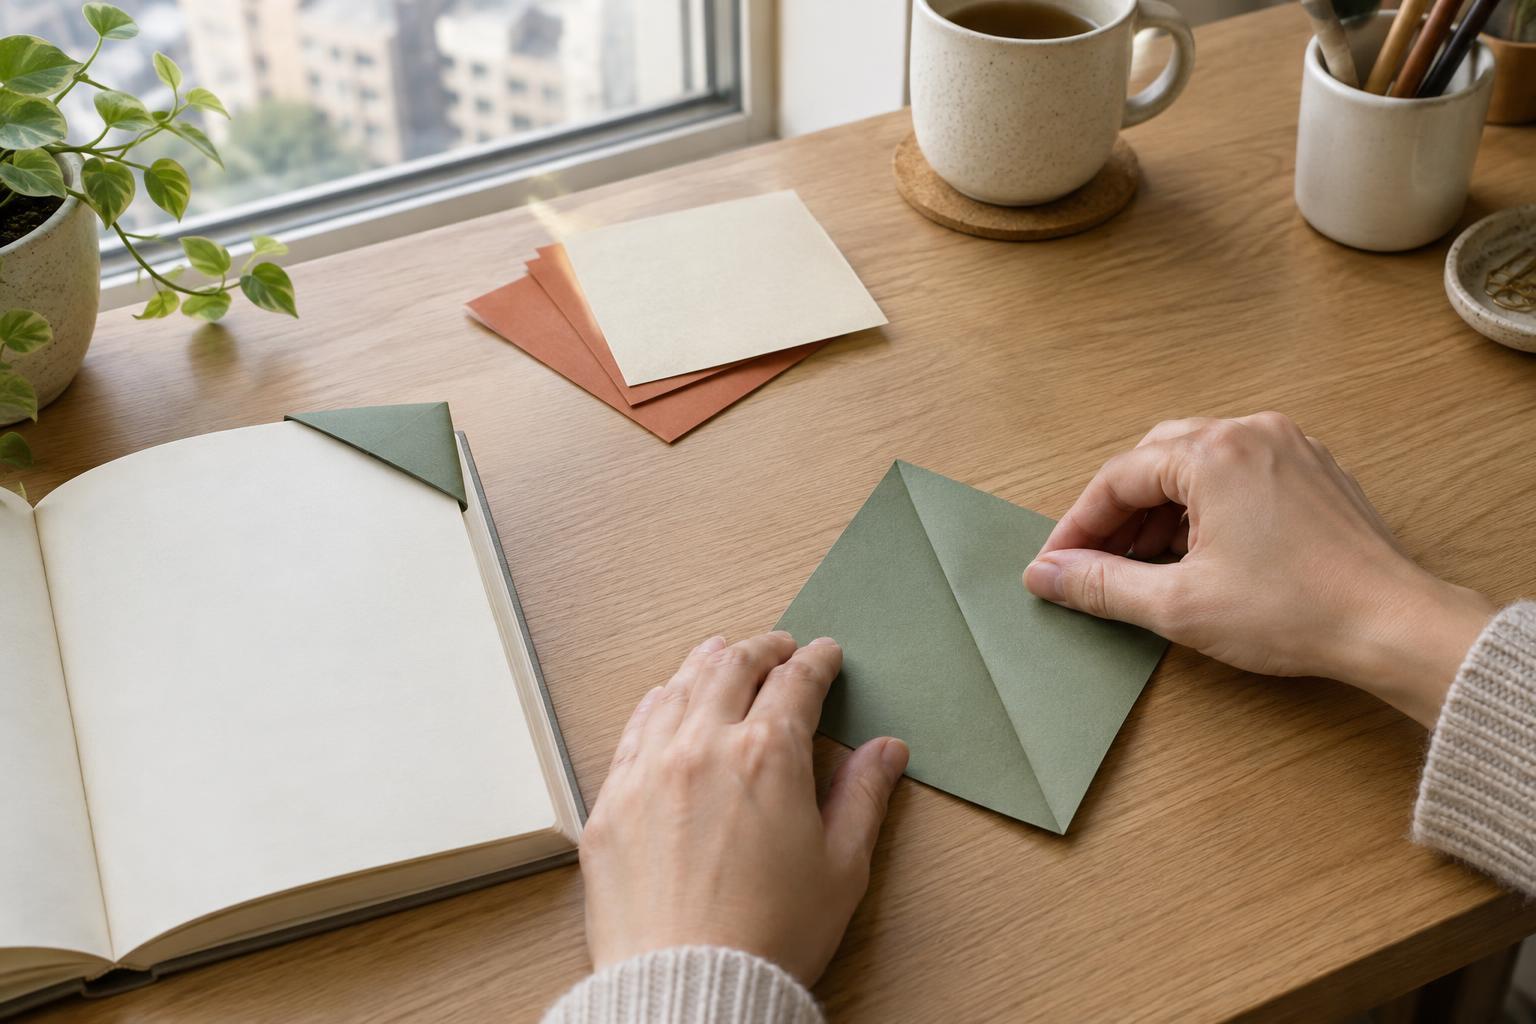
This first project uses a square to create a small pocket that slips over a page corner. Start with the square in front of you and fold it diagonally into a triangle. Rotate the triangle so its long folded edge is at the bottom and its point faces up. The triangle has two layers; lift only the front layer of the top point and fold it down until that point touches the middle of the bottom edge. Crease the fold, leaving a pocket opening above the lowered point.
Now bring the bottom-left corner up to the top point of the triangle and crease it. Do the same with the bottom-right corner. The folded paper should look roughly like a diamond. Take each of the two tips you just brought up, fold it down and tuck it into the pocket made in the previous step. Smooth the edges gently. The result is a triangular pocket: slide it over the corner of a book page to test the fit.
Try the sequence once with plain paper before using patterned or colored paper. If you lose track of which layer to fold, pause and open the model back to the last shape you recognize. Following the layers is easier than trying to rescue several folds at once.
Fix small problems without starting over
If the bookmark looks lopsided, the first diagonal fold may not have brought the corners together evenly. Open it to the square and try that fold again, lining up the tips before making a crease. If the two side tips will not stay tucked in, check that you folded down only the front layer of the top point; that fold creates the pocket they need. Gently widening the opening with a finger can help you tuck them in without tearing the paper.
Creases from an earlier attempt can make the next try confusing. Rather than folding repeatedly over a heavily marked sheet, use a fresh square and keep the old one beside you as a reference. Mistakes are useful when they show which step controls the final shape. You do not need a flawless model to learn from it.
Build a small, enjoyable practice habit
Origami can fit into a few minutes of downtime without becoming another demanding project. Keep a small stack of squares in a drawer, then repeat the bookmark until the steps feel familiar. On one attempt, concentrate on matching corners; on the next, work on making even creases. Practicing one detail at a time makes progress easier to notice.
Once the shape is comfortable, experiment within its limits. Try paper with a different color on each side, make two sizes, or draw a simple design on the finished bookmark. You can also unfold a completed model to see where its creases lie, then refold it. The pleasure of beginner origami is not only in the finished object: it is in seeing how a flat sheet changes through a few deliberate folds.