What makes a mend visible?
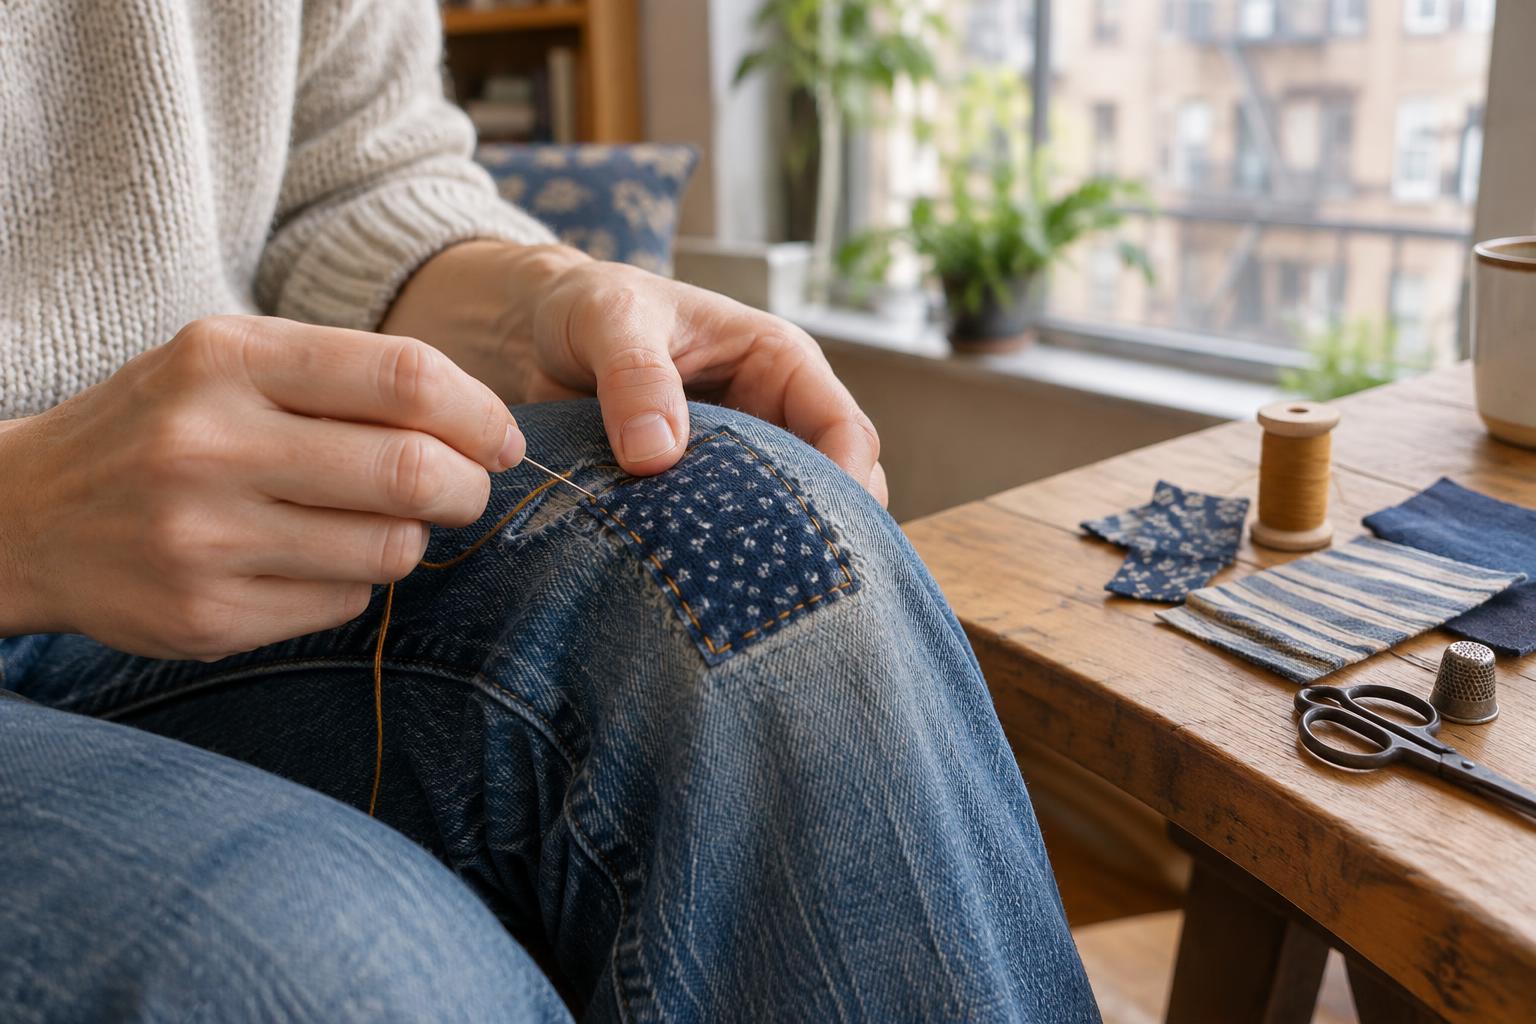
Visible mending repairs a worn or damaged item without trying to hide the work. A patch in a contrasting color, a row of bright stitches or a simple stitched shape becomes part of the item’s appearance. It is a practical way to keep using a favorite garment, but it can also be a quiet craft: you make one stitch, then another, and gradually see the repair take shape.
You do not need to be good at embroidery to begin. Uneven stitches can have charm, and a small project can fit into a short stretch of free time. Think of the first attempt as practice rather than a test of whether you can make a garment look new. The goal is a repair that feels secure and that you enjoy looking at.
Choose an easy first project
Start with a clean, sturdy item that has a small hole or thin spot in a flat area, such as the knee of jeans or the body of a cotton tote. Flat fabric is easier to hold and stitch than a cuff, seam or tight corner. Avoid beginning with delicate knitwear, stretchy fabric or a tear that takes much of the garment’s weight; those repairs may need a different approach.
Look closely at the area around the damage. If the fabric feels thin beyond the visible hole, make your patch large enough to cover that weak area too. A patch placed only over the opening may leave the next fragile spot ready to tear. For a first try, choose an item you will not mind experimenting on, even if the finished stitches are more noticeable than you planned.
Gather a few supplies and set up
For a basic patch, you need a needle, thread, scissors, pins or clips, and a scrap of fabric. Choose patch fabric that feels similar in weight to the item: a piece of sturdy cotton works well with many woven garments, while heavy denim may make a light shirt feel stiff. Embroidery floss creates bold lines, but ordinary sewing thread is fine if you prefer a quieter result. A thimble can help when pushing a needle through thick layers.
Cut the patch so it extends beyond the worn area on every side. If its edges are likely to fray, fold them under before stitching or choose a scrap that does not unravel easily. Smooth the garment on a table and place a piece of cardboard inside it if there are two layers. This keeps you from accidentally stitching the front to the back. Good lighting and a comfortable seat make it easier to treat the work as a break rather than a chore.
Make a simple stitched patch
Position the patch on the inside or outside of the garment, depending on the look you want. An outside patch makes a clear design feature; an inside patch lets your stitches stand out around the hole. Secure it with a few pins or clips. Thread the needle, tie a small knot at the end, and begin near the edge of the patch. Stitch around the patch with short running stitches, taking the needle up and down through both layers.
Once the patch is attached, add rows of stitches across the worn area if it needs more support or you want more color. Keep the rows close enough to hold the fabric together, but do not pull the thread so tightly that the garment puckers. Every so often, lay the fabric flat and check how it feels. To finish, make a few small stitches in one place on the inside, pass the needle through a nearby loop of thread, and trim the end.
Let the craft fit your free time
Visible mending does not have to be completed in one sitting. You can spend one short session choosing colors, another placing the patch, and a third adding stitches. If you want a calmer rhythm, skip an elaborate pattern and repeat one simple stitch. If you want to play, alternate thread colors or outline a basic shape. Both approaches count as finished when the repair is secure and suits the item.
Before wearing or washing your mend, check that the patch lies comfortably and no loose thread catches on your fingers. Follow the garment’s usual care instructions, treating a delicate new repair gently. As you use the item, watch how the patch holds up; adding a few stitches later is part of the process. A visible mend need not be perfect or permanent to be worthwhile. It can give you a pleasant hour with your hands and a little more life from something you already own.